
How to Add Your Business to Google (Step-by-Step Guide)
In this guide
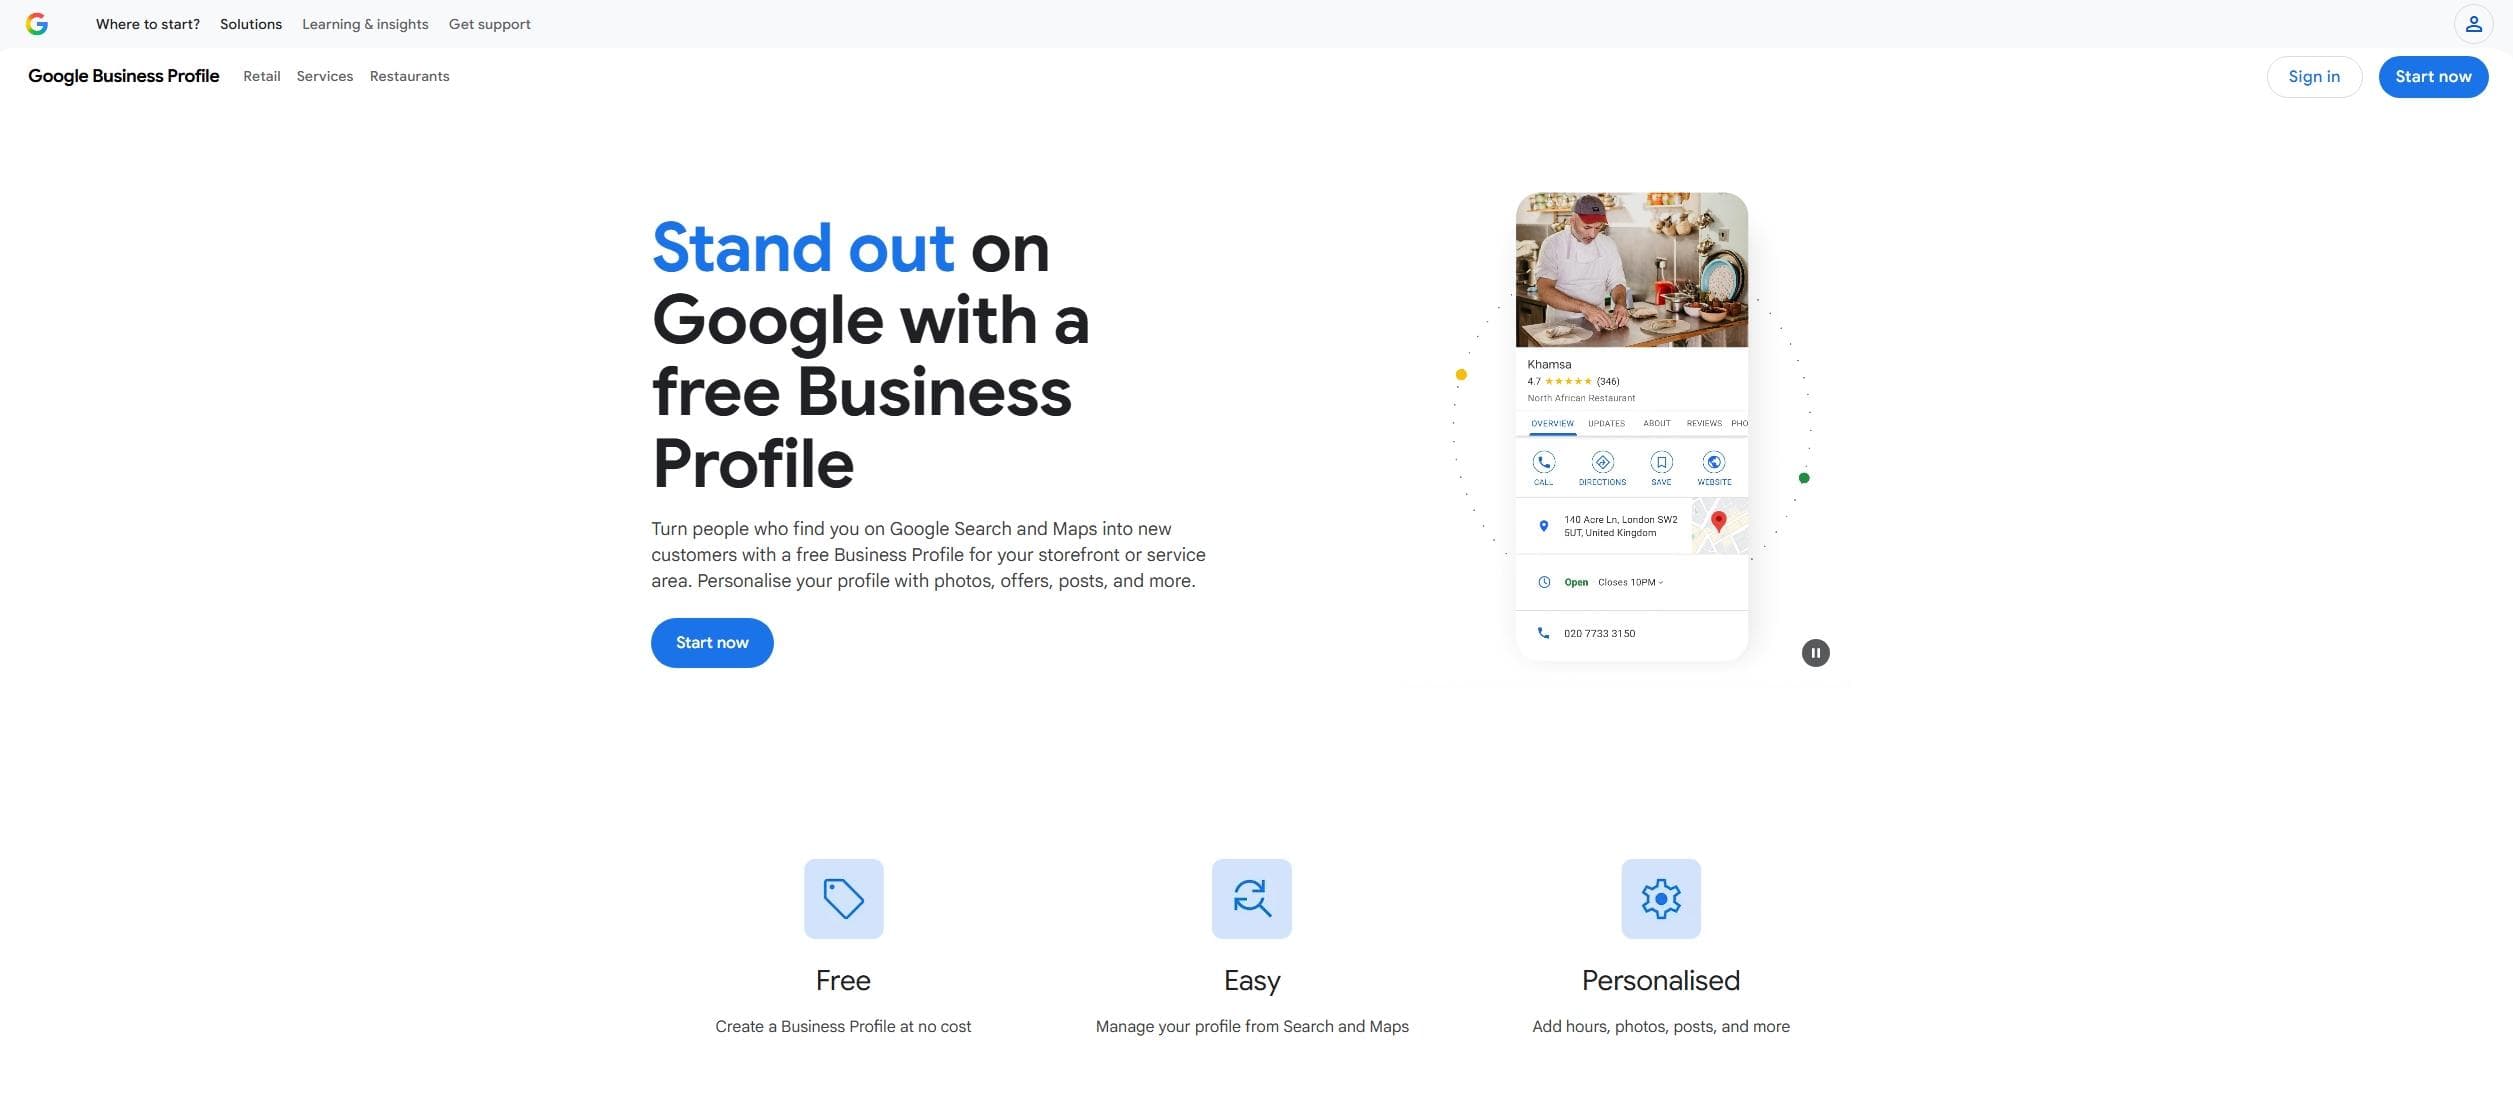
When potential customers search for your services or products locally, you want your business to be the very first thing they see. Adding your business to Google by creating a Google Business Profile is one of the most powerful—and completely free—ways to boost your local SEO, attract foot traffic, and build trust through customer reviews. Whether you have a physical storefront or travel to your customers, getting listed on Google Search and Maps is essential. In this guide, we will walk you through exactly how to set up, claim, and optimize your business on Google.
Navigate to Google Business Profile
Before you can claim your spot on Google Maps and Search, you need to be logged into the right account. We highly recommend using a business-specific email address rather than your personal one so everything stays organized.
- Open your web browser and go to google.com/business.
- Click the Start now button.
- Log in to your Google account. (If you do not have a Google account dedicated to your business, click "Create account" to set one up).
Enter Your Business Name and Category
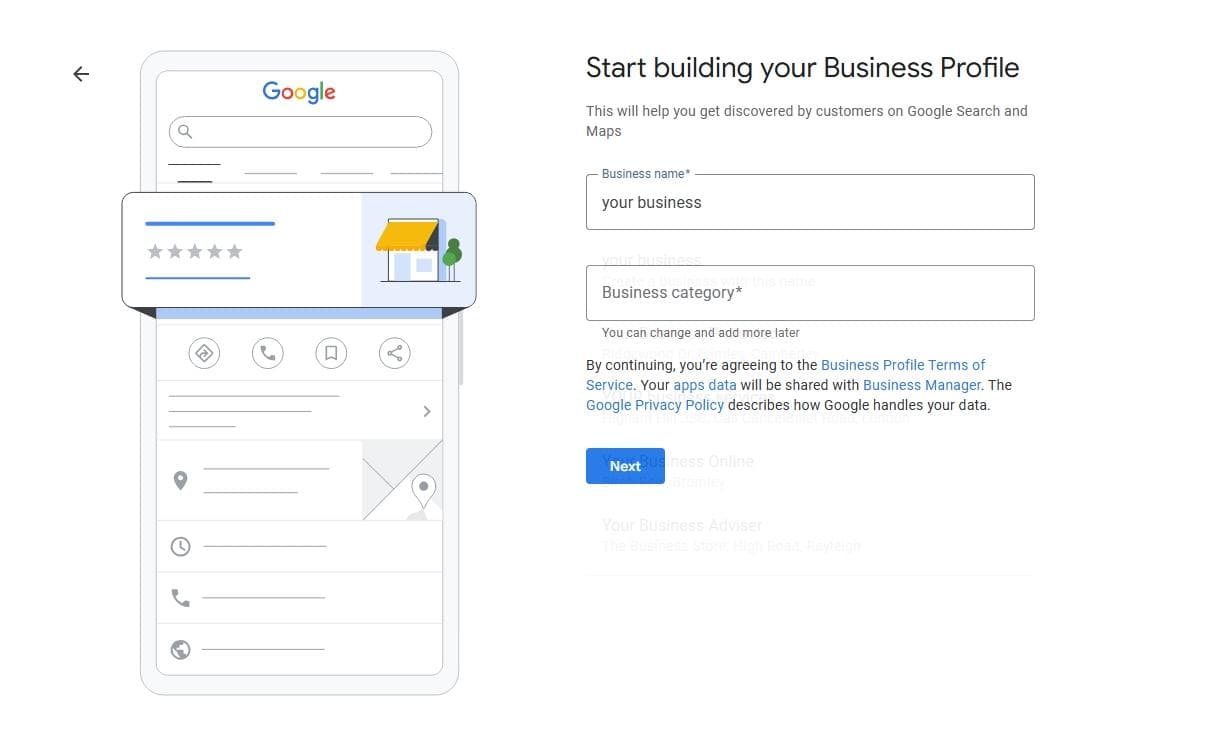
Once you are logged in, Google needs to know what your business is called. This step is designed to help you either create a brand-new profile or claim an existing one that Google or a customer might have auto-generated.
- Type your business name into the search bar.
- If your business name appears in the dropdown menu, select it (this means a listing already exists and you will be claiming it).
- If your business does not appear, click Create a business with this name.
- Type in your business name exactly as it appears in the real world (avoid adding extra keywords here, as Google can penalize that).
- Type in your primary business category (e.g., "Plumber," "Coffee Shop," "Marketing Agency") and select the best match from the auto-populated list. Don't worry if you offer multiple services; you can add secondary categories later!
- Click Next.
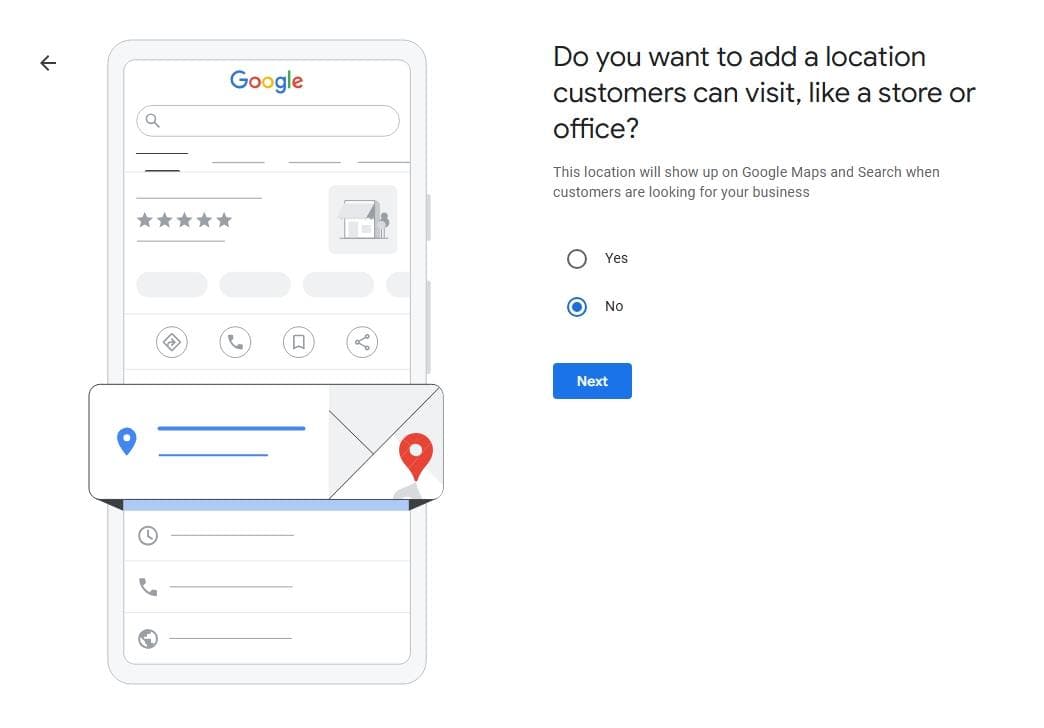
Choose Your Location Type (Storefront vs. Service Area)
Google needs to know how you interact with your customers. You will be asked, "Do you want to add a location customers can visit, like a store or office?" Your answer here will change the next few screens you see.
- Select Yes if you have a physical storefront, restaurant, or office where customers come to you.
- If you selected Yes, you will be taken to a screen to enter your complete business address. Fill this out accurately and click Next.
- Select No if you operate a service-area business (like a mobile mechanic, plumber, or cleaning service) where you travel to your customers, or if you run your business out of your home and want to keep your address private.
- Click Next.
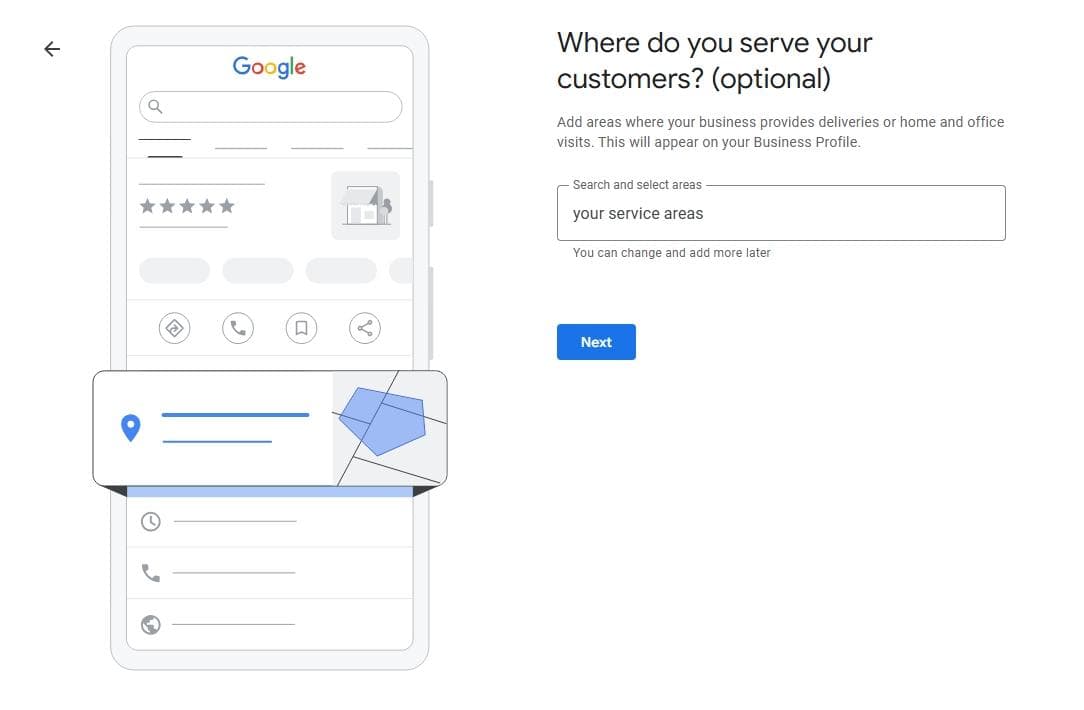
Define Your Service Area and Region (If You Selected "No" in Step 3)
Note: If you selected "Yes" in Step 3 and entered your physical address, you can skip this step! If you are a mobile business, offer deliveries, or travel to your clients, this section is where you tell Google exactly how far your reach extends and where your business is based. Setting this up correctly helps ensure your business appears in local search results for the right customers.
- On the "Where do you serve your customers (optional)?" screen, type the name of a city, region, or postal code where you operate into the search box.
- Select the correct geographic area from the dropdown menu to add it as a tag. Repeat this process for all the areas you serve (Google allows up to 20 service areas, but keeping them within a two-hour drive is recommended).
- Click Next.
- You will then be taken to a screen asking, "What region is your business based in?". Click the dropdown menu.
- Scroll through the list and select the country where your business is legally registered and primarily operates.
- Click Next.
- continue to follow the steps answering all the questions google gives you
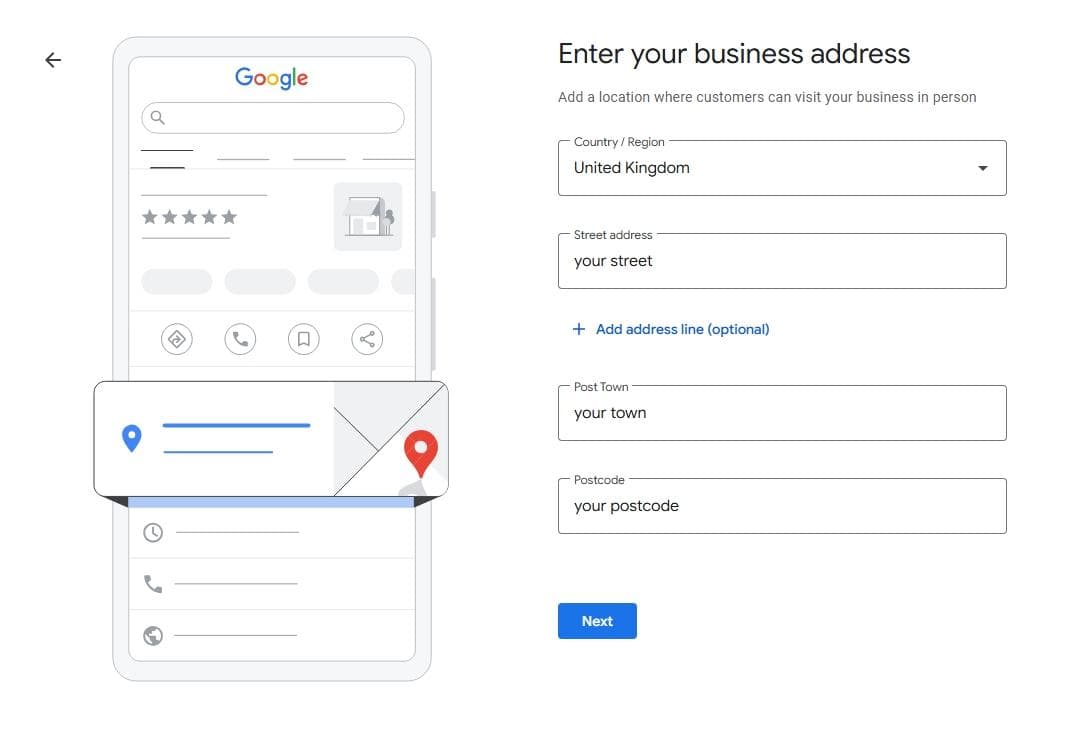
Enter Your Business Address (If You Selected "Yes" in Step 3)
Note: If you selected "No" in Step 3 and already set up your service areas, you can skip this step! This step is specifically for businesses with a physical location that customers can visit during stated business hours. Accuracy here is critical, as this is the exact address that will display on Google Maps and where Google may send a postcard to verify your business.
- On the "Enter your business address" screen, ensure your Country/Region is selected correctly at the top.
- Fill in your Street address, City, State/Province, and ZIP/Postal code.
- Crucial Tip: Use your exact, official street address. Google does not allow P.O. Boxes or remote mailboxes for physical storefronts. If you have a suite or office number, make sure to include it.
- Once your address is fully entered and double-checked for typos, click Next.
- Note: In some cases, Google may show you a map and ask you to drag a red pin to pinpoint your exact building location. If this happens, zoom in and place the pin right over your front door, then click Next.
- continue to follow the steps answering all the questions google gives you
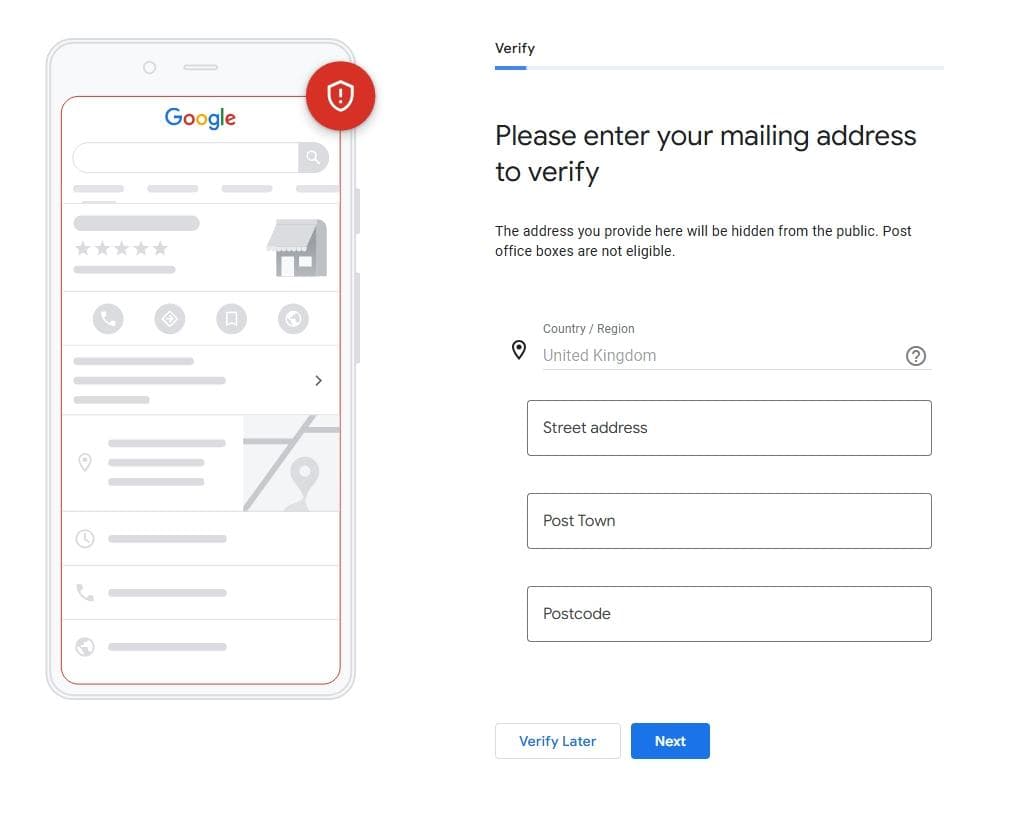
Verify Your Business
This is the most critical step. Google needs to know you are a real person running a real business before they let your profile go live. It is important to note here that Google chooses the verification method for you based on what they already know about your business. You cannot select your preferred method, so you just have to follow the prompt they give you.
note: you can chose to verify your business later if you wish
- Depending on your option, follow one of the paths below:
- Video Recording (Most Common): Google will ask you to record a continuous, unedited video (using your mobile phone) showing your location (like street signs), proof your business exists (tools, branded vehicles, or a storefront sign), and proof of management (unlocking a door, opening a cash register, or logging into a business software).
- Phone or Text: If you are lucky, Google will send a 5-digit code via an automated phone call or text message to your business phone number. Simply enter the code on the screen.
- Email: Google will send a verification code to the business email address associated with your profile.
- Postcard (Less Common Now): Google will mail a physical postcard to the address you entered. It usually takes 5 to 14 days to arrive and contains a 5-digit code you will need to log back in and enter.
- Follow the on-screen prompts for your specific method and submit your verification.
- Note: It can take up to 5 business days for Google to review and approve a video verification.
Complete Your Profile (And How to Keep It Ranking!)
Once your verification is underway, Google will guide you through a few final screens to flesh out your listing. Getting these details right is what actually turns searchers into paying customers.
- Add Your Business Hours: Enter the exact days and hours you are open for business. If you are a 24/7 emergency service, make sure to indicate that!
- Add Messaging: Toggle on "Accept messages" if you want customers to be able to text you directly from Google Search and Maps. (Only do this if you can reply quickly!)
- Add Your Business Description: Write a brief, compelling description of what you do, who you serve, and what makes your business unique.
- Upload Photos: Add high-quality images of your storefront, your team, your work, or your products. Listings with photos receive significantly more clicks and requests for directions.
- Click Continue to be taken to your new Google Business Profile dashboard right on Google Search.
Want to skip the hassle and get guaranteed results?
Setting up your Google Business Profile is just the first step. To actually outrank your local competitors, show up in the highly coveted "Google Local Pack" (the top 3 map results), and consistently drive leads, your profile needs ongoing management, weekly updates, and strategic review handling. It is definitely not a "set it and forget it" tool!
If you would rather focus on running your business while an expert handles your local SEO, we can help. We specialize in fully managing and optimizing Google Business Profiles so you dominate your local market.
Find out more about our Google Business Profile management services and how we can grow your visibility at localvantage.co.uk.